Cream Cheese Cookies

Screen shot 2013-12-12 at 3.45.07 PM

Ok, this one is for those of you who wish that you could just eat a whole bowl of that incredible icing that you get on top of red velvet cupcakes! These cookies are divine. Its pretty much cream cheese icing plus some flour and baked. I have made these twice. The first time was when my son went to boarding school and as a paranoid mother I wanted to make sure that he had a few treats to see him through the week. So I made whole batch of these for him. I think he ate about 2 if he was lucky. The matrics raided the dorms and found the cookies and well, lets just put it this way, they now put in orders!! 🙂

I found this recipe on another blog and I have been wanting to take my own picture every time I bake them, but they disappear before I can get my camera out! so I will have to borrow this pic from the author of this recipe. Her blog is called the heartland. Check it out!

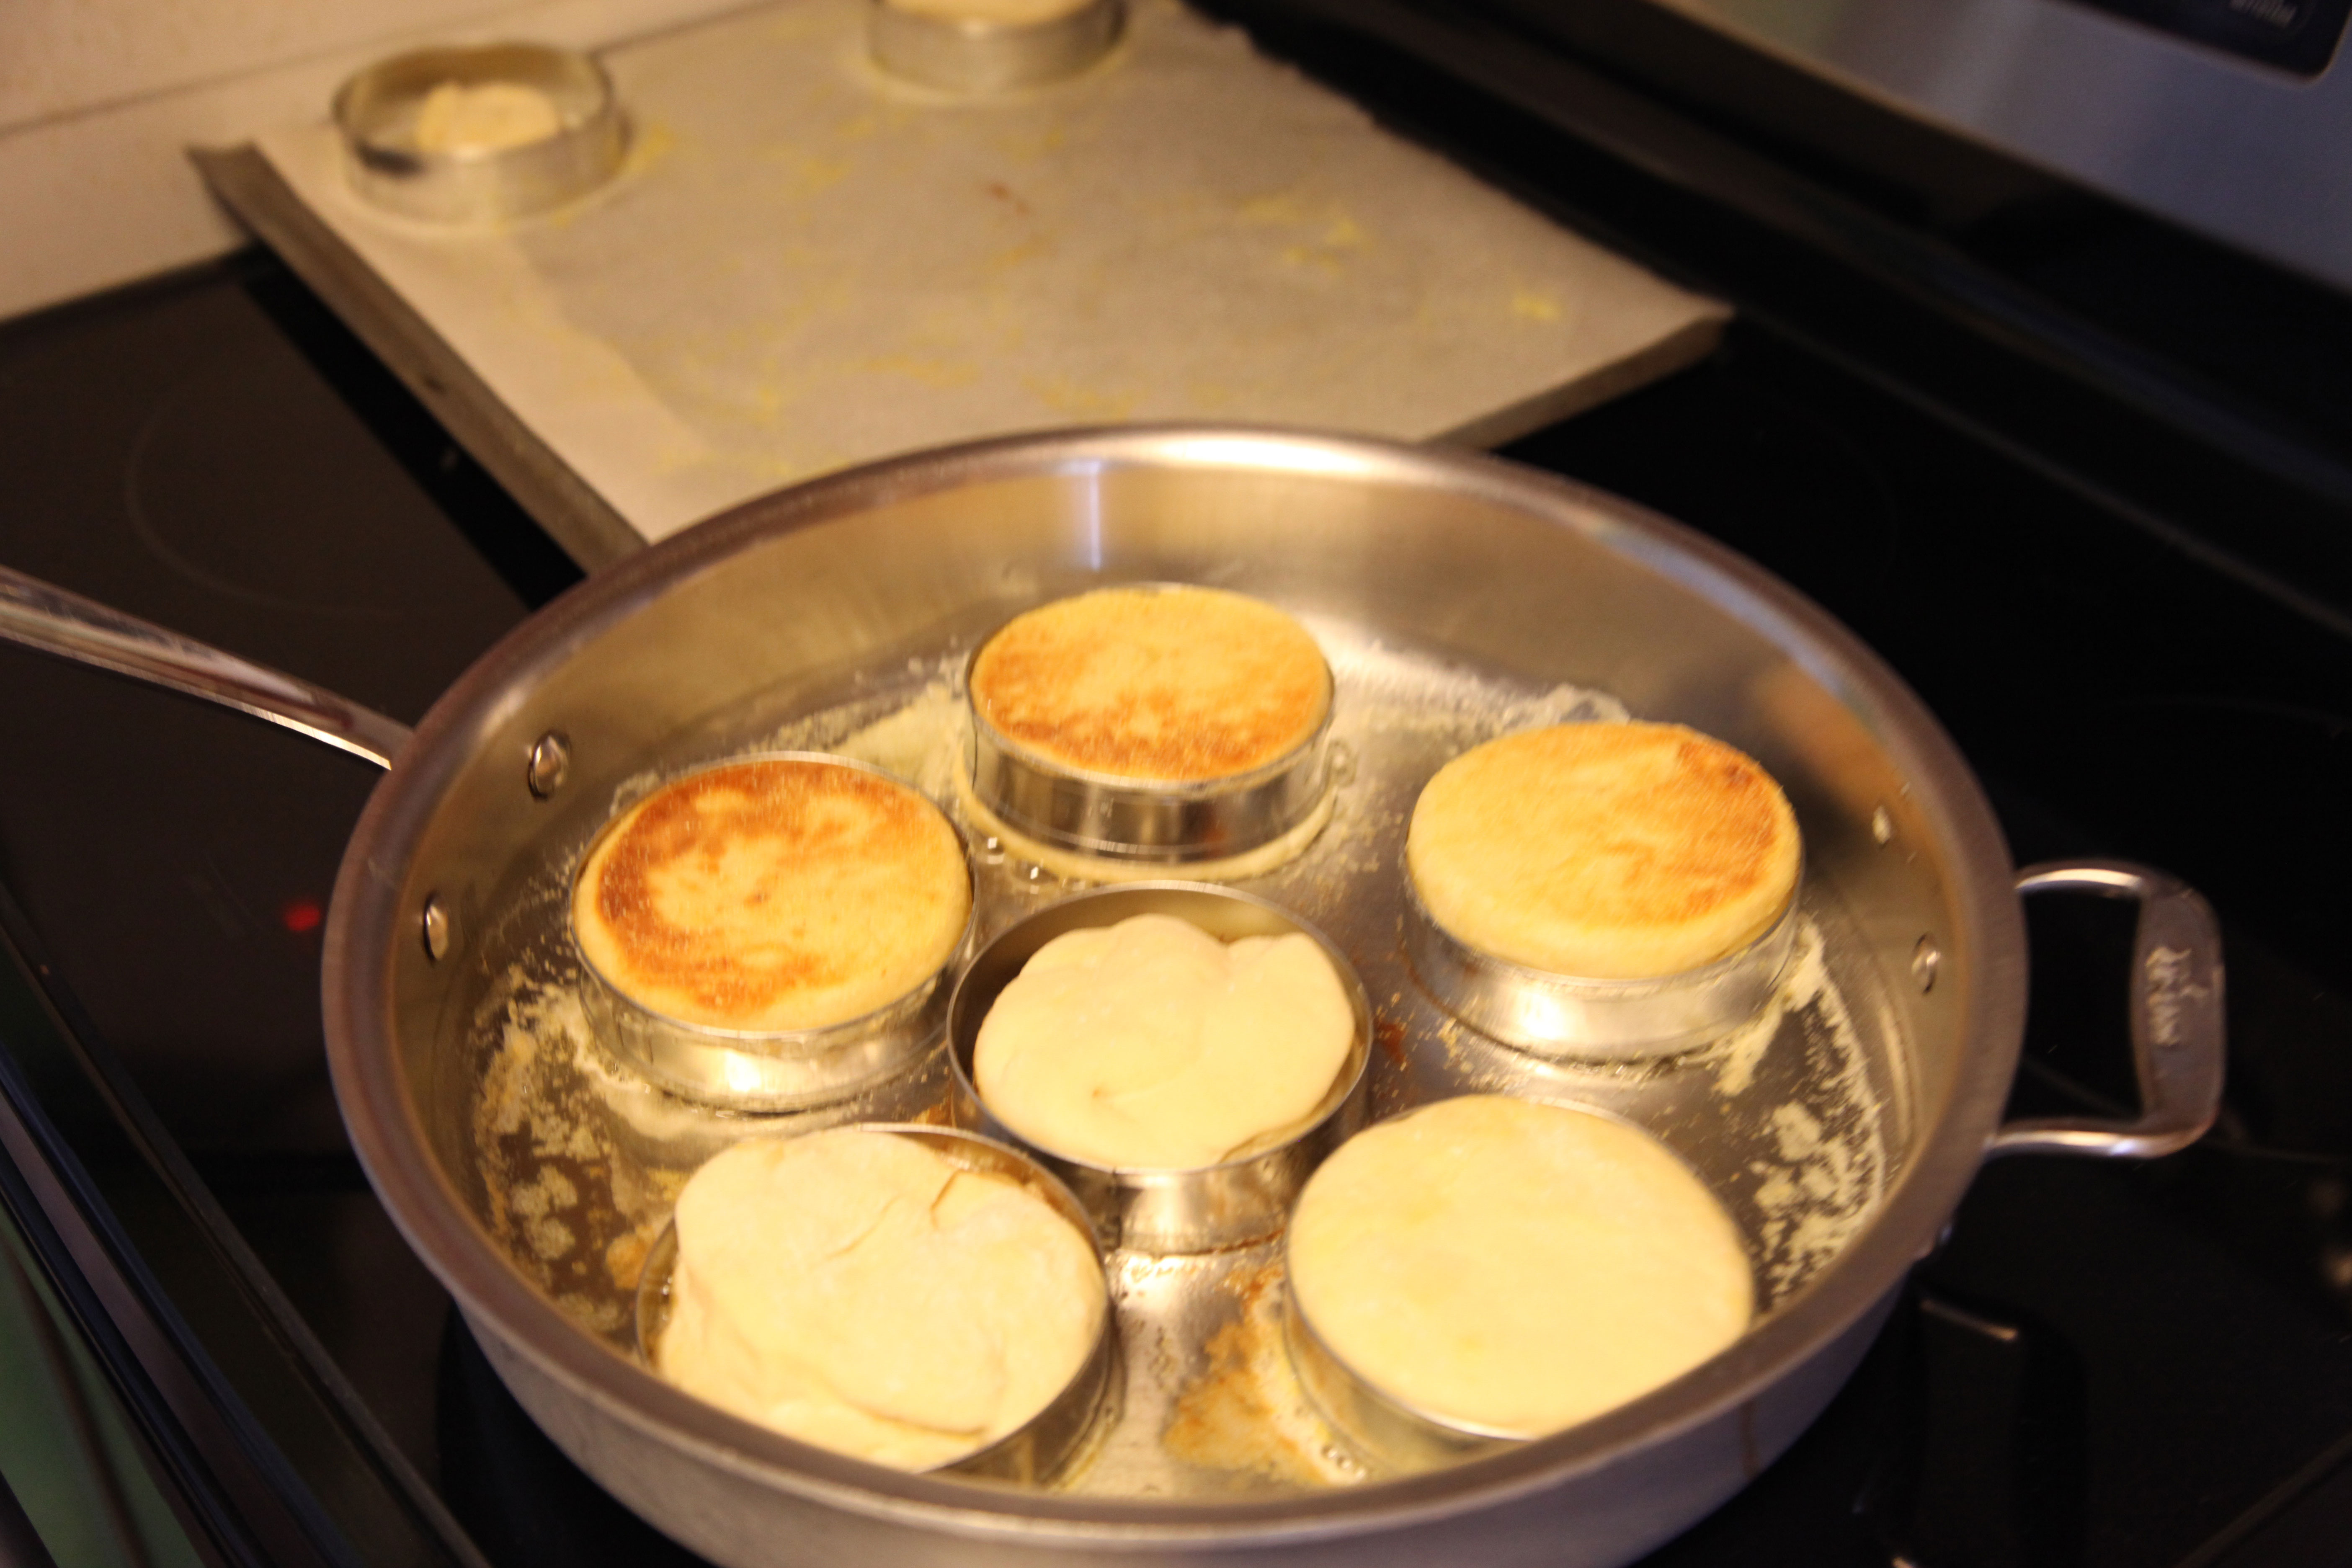
They are very soft inside and are just delicious and so easy to make!

1/2 Cup Unsalted Butter (room temperature)

85g Regular Cream Cheese (room temperature)

1 1/2 Cups Icing Sugar

1/2 Tsp Baking Powder

1 Egg (room temperature)

1/2 Tsp Pure Vanilla Extract

1 3/4 Cups Flour

  • Heat your oven to 190 C and line your cookie sheets with baking paper.
  • Place butter and cream cheese in your mixer bowl and beat for 1 minute.
  • Beat in the sugar and baking powder.
  • Add the egg and vanilla and ‘Beat Until Fluffy.’
  • Beat in the flour. Chill for 30 minutes for drop/roll cookies, one hour for cut-out cookies.
  • Scoop by rounded teaspoon full and dredge drop cookies (roll balled cookies) in superfine sugar.
  •  Bake for 7 minutes. Cool for 1 minute on cookie sheet then transfer to wire racks to cool completely.

Christie’s Brownies

brownies(1)

I got this recipe a while ago from my friend Christie. They are pretty much fool proof, amazing everytime brownies! I was needing brownies as a base for my Christmas Black Forest Trifle and I used these which worked perfectly! You can use this as a base and add macadamia nuts, or pecan nuts or white chocolate and dried cranberries. Anything you like really. They are best after a day in the fridge (if you can wait that long!)

For the Brownies 

250g butter

2 cups (250ml) sugar

3 eggs (lightly beaten)

2 cups flour

5 T cocoa

1 tsp vanilla extract

100g dark chocolate

100g chopped pecan nuts (optional)

For the topping

1/2 – 3/4 Tin of condense milk

2 tsp cocoa powder

Remainder of the chocolate from the brownie recipe

  • Heat your oven to 180 C
  • Melt butter and sugar together. Cool and place in the bowl of a stand mixer (or a medium sized mixing bowl if you are using a hand mixer).
  • Add eggs to the cooled mixture and mix well in the stand mixer.
  • Add flour and cocoa and mix well
  • Add vanilla and mix. Stop the mixer.
  • Chop up 6 x 3 rows of the chocolate into small chunks and add to the mixture together with the nuts (if using) and fold through.
  • Add the mixture to a greased large, rectangular or square oven dish.
  • Bake for approximately 20 minutes.
  •  To make the topping, mix all the ingredients together and heat in the microwave until the chocolate is melted.
  • Pour on top of the brownies after they come out of the oven
  • Leave to cool and then cut into squares.

Recipe by Christie Gunn

Key Lime Pie

Keylime Pie

I have wanted to taste and try out a recipe for Key Lime Pie since I heard of its existence!  It just sounded like something that I would enjoy. I love cooking with lime and I really enjoy the freshness and colour of it. I found this recipe in the Garden and Home Magazine and decided to give it a bash yesterday.  The lime juice and zest added a really great refreshing touch. I had made steak and chips with a mushroom sauce for lunch so it followed on well from such a heavy meal because it was so zesty fresh! I served it with ice cream and raspberries so the colours on the plate were beautiful. It was a hit!

For the base:

150g tennis biscuits

150g ginger biscuits

150g butter – melted

For the filling

8 limes, finely grated zest and juice

375ml fresh cream

1 tin condense milk

3 egg yolks

To serve:

Fresh lime zest

Icing sugar

Raspberries

Vanilla ice cream (optional)

  • To make the base, put the biscuits into a food processor and crush the biscuits. When they are crushed, add the melted butter and mix until combined.
  • Press the mixture into the base and up the sides of a tart or flan case. Chill the tart shell until required.
  • Preheat the oven to 150 C
  • To make the filling, place all of the filling ingredients in a bowl and whisk until combined.
  • Pour the filling into the tart shell and bake for 30 – 40 minutes until just set. Remove from the oven and allow to cool completely.
  • Dust with icing sugar and serve topped with fresh lime zest, raspberries and vanilla ice cream.

Photo and recipe from the Garden and Home Mag

Espresso and Ricotta Cheesecake

Espresso and Ricotta Tart

I did a baking workshop for Moirs on the weekend and had to do this tart for them. I call it a cheesecake because it is a baked cheesecake in a tart dish! It’s absolutely amazing, especially if you like a coffee flavour. The texture is beautiful and the ricotta adds an interesting dimension. The trick with this one is that your ricotta MUST be soft. I bought a brand that was hard and it just didn’t work! I then tried it with the Woolworths Ricotta that you can buy in the tub and it worked beautifully! The coffee and chocolate crust is also pretty much to die for so don’t substitute the biscuits if you can help it cause they really do make this dish special!

Crust

1 packet Moir’s Coffee Dreams biscuits

30g butter or margarine, melted

20cm Hulamin pie dish

Filling

500g ricotta cheese

175g cream cheese

2 extra-large eggs

125g brown sugar

30ml flour

70ml freshly brewed espresso coffee

5ml Moir’s Vanilla Essence

  • Preheat oven to 170°C.
  • Crumble the biscuits and mix with melted butter.
  • Spread evenly in a tart dish and along the sides.
  • Beat together the ricotta, cream cheese, eggs, brown sugar and flour until smooth.
  • Add the cooled espresso and vanilla essence and mix well.
  • Spread the mixture evenly on the crust.
  • Bake until light brown, for about 40 minutes.

Photo and Recipe by Moirs

Chocolate, Coffee and Nutella Brownies

Chocolate Coffee and Nutella Brownies

I did a baking workshop this past weekend and had to find recipes that incorporated coffee into baking. I did some research and played around with a few recipes and then came up with these guys. The coffee makes these brownies decadently rich and adds an amazing flavour that makes you go back for more! (yes, its a problem….) The Nutella on the top gives a gorgeous nutty twist but you could use a normal chocolate ganache if you don’t like Nutella (Do those people actually exist??)

175 g unsalted butter, softened

1/2 cup good quality dark chocolate

3 eggs

1/4 cup brewed coffee

1 cup all-purpose flour

1/2 teaspoon baking powder

1/4 cup cocoa powder

¼ tsp salt

1 tsp Vanilla Essence or extract

1 cup caster sugar

1 cup Nutella

  • Preheat the oven to 180 C
  • Line a square baking tin with baking paper, with an extra 1cm on the sides.
  • Melt the butter and chocolate together over a pan of simmering water. Stir until smooth and combined; leave to cool for 5 minutes
  • Meanwhile, sift the flour, salt, baking powder and cocoa powder together.
  • Add the coffee to the chocolate mixture and mix.
  • Whisk the eggs and then add a little bit of the chocolate mixture to the eggs. Whisk and then add the rest of the chocolate mixture and whisk again.
  • Add the vanilla essence and mix. Add the flour mixture and sugar; stir well to combine
  • Pour the batter into prepared pan and bake for around 20 to 25 minutes. What you are looking for is a thin crust on top and if you put pressure on it, it will crack and be mushy underneath! Your brain will tell you that they are not ready, but you want them to be gooey so that when they chill in the fridge they will have that dense, soft and squidgy brownie consistency!
  • Once the brownies have cooled a little bit – but still a bit warm you can spread the Nutella over the top.  Drop the Nutella in blobs around the surface, allow the heat of the brownies to melt the Nutella a little which will make it easier to spread over the delicate surface.
  • When the brownies are at room temperature, refridgerate for a few hours and then cut into squares.

Makes 12

Red Velvet Flan

Red velvet flan

This is an incredible take on the red velvet classic. It has a beautiful dense, moist base, filled with a cheese cake filling that compliments the cake so well. I topped mine with strawberries only, but this recipe from Moirs suggests chopped meringues as well. It’s something different and quite special! A great option to make for a dessert as you can do it the day before!

For the Cake:

312 ml (180 g) cake fl our

187 ml (150 g) sugar

5 ml Moir’s Bicarbonate of Soda

10 ml cocoa powder

2.5 ml salt

125 ml buttermilk

1 extra large egg

165 ml oil

5 ml vinegar

15 ml Moir’s Red Food Colouring

2.5 ml Moir’s Vanilla Essence

Filling: 

230 g cream cheese

1 x 397 g can condensed milk

80 ml fresh lemon juice

5 ml Moir’s Vanilla Essence

4 meringues, chopped

250 g strawberries, hulled and halved

Icing sugar for dusting

Cake:

1. Sift the dry ingredients together. Do this TWICE.

2. Beat the buttermilk, egg, oil, vinegar, colouring and essence together.

3. Add to the dry ingredients and mix until just combined. Do not over-mix.

4. Pour into a greased 25 cm flan tin. (I used 2 smaller disposable tart tins)

5. Bake in a preheated oven at 180°C for 30 -35 minutes or until a skewer inserted comes out clean.

6. Cool in the pan. Once cooled, press the centre down a bit and using your fingers around the edges shape the cake into a ‘pie crust’ shape to make space for the filling.

Filling:

7. Beat cream cheese and condensed milk together until smooth.

8. Add the lemon juice and the vanilla and beat for 2 minutes.

9. Pour into the prepared flan casing.

10. Refrigerate for about 3 hours or until set.

11. Sprinkle the crushed meringues on top and press gently into filling.

12. Arrange strawberries on top and dust with icing sugar just before serving.

Recipe by Moirs

Photo 2013-08-20 10 40 23 PM

Vanilla Bean Cupcakes with White Chocolate and Cream Cheese Icing

Vanilla Bean Cupcakes with White Chocolate and Cream Cheese Icing

I made these cupcakes for a family wedding recently.  Because it was a special wedding – I really wanted to make them a bit special. I love the red velvet cupcake icing so I wanted to use that with a bit of a twist to fancy it up a bit! So I did some research and came across a few recipes and merged them all together and came up with these beauties!  The white chocolate really did add that something decadent (if you can get more decadent than cream cheese icing!) – they were a hit and my first official wedding baking experience may have left me with a few grey hairs, but they were delicious and the beautiful bride and groom were happy! PHEW!

For the Vanilla Bean Cupcakes:

2 ¼  cups cake flour

1 Tbsp baking powder

½ tsp salt

1 ¼  cups full cream milk (room temperature)

4 large egg whites (room temperature)

120g unsalted butter (room temperature)

1 ½  cups sugar

Seeds scraped from one vanilla bean

2 tsp pure vanilla extract

For the White Chocolate and Cream Cheese Icing:

175g white chocolate, chopped

250g cream cheese, softened

¼ cup (50ml) butter softened

½ tsp vanilla extract

2 cups (500ml) icing sugar

For the Cupcakes:

  • Center a rack in the oven and preheat to 180 C.
  • In a large bowl, sift together the flour, baking powder and salt.
  • In a medium bowl, whisk together the milk and egg whites.
  • In the bowl of a stand mixer fitted with the paddle attachment, or with a hand mixer, beat the butter, sugar and vanilla bean seeds at medium speed for 3 minutes, or until the butter and sugar are very light.
  • Add in the vanilla extract and one third of the flour mixture, still beating on medium speed. Beat in half of the milk-egg mixture, then beat in half of the remaining dry ingredients until well incorporated.
  • Add the rest of the milk and eggs, beating until the batter fully incorporated and smooth, then add the last of the dry ingredients.
  • Once ingredients are thoroughly incorporated, give the batter a good 2-minute beating to ensure that it is thoroughly mixed and well aerated.
  • Fill about 18 free-standing muffin cases with about 2 heaped tablespoons of the batter.
  • Place the muffin cases onto a baking tray and bake for 18-24 minutes, or until a toothpick inserted into the centers come out clean. Cool on wire rack

For the icing:

  • Place the white chocolate in a glass bowl that fits snuggly on a small saucepan filled with a little bit of water (don’t let the glass bowl touch the water) and bring the water to a simmer and the chocolate will slowly melt. Stir occasionally until completely melted. Take off the heat and saucepan and let it stand and cool for a few minutes. Stirring occasionally. Don’t let it stand too long and start setting! It must be luke warm.
  • In a clean mixing bowl, beat the butter and the cream cheese together and then pour in the chocolate and vanilla and combine everything together.
  • Slowly add the icing sugar and beat well.
  • Place the icing into a piping bag and let it cool in the fridge for about 2 – 3 minutes.
  • Ice and decorate as desired!

This was the final result 🙂

Wedding cupcakes

Date Pudding with Toffee Sauce

Date pudding with toffee sauce pic

Don’t be fooled by the dates, they add an incredible dense and sticky texture to this gorgeous pudding. True decadence for a real spoil! 🙂

200g pitted dates, chopped

300ml water

5ml (1tsp) bicarbonate of soda

80g butter, softened

200ml (3/4 cup) castor sugar

2 extra-large eggs

250ml (1 cup) cake flour

8 ml (1 ½ tsp) baking powder

Toffee Sauce

125ml (1/2 cup) fresh cream

100g butter

125ml (1/2 cup) treacle or any brown sugar (dark and sticky sugars give a better flavour)

–       Place the dates and water in a small heavy-based saucepan and bring to the boil. Simmer for about 5 minutes or until the dates are soft. Remove from the heat and add the bicarbonate of soda.

–       Cream butter and castor sugar together. Add eggs, one at a time, beating well after each addition until light and creamy.

–       Sift flour and baking powder together. Fold into egg mixture. Stir in dates and water mixture until well combined.

–       Spoon into a greased medium ovenproof dish and bake in a preheated oven at 180 C for about 45 minutes, or until firm.

For the Sauce:

– Combine all the sauce ingredients in a small heavy-based saucepan and stir over a low heat until butter melts. Simmer for about 10 minutes, or until thickened. Serve warm with sauce.

Serves 4 – 6

Recipe from the Royal Kitchen cook book

English Muffins

English Muffins pic

These are amazing just simply served with butter and cheese or jam. But you can also use these as a base to a great breakfast. Either eggs benedict or a ‘breakfast bun’ with bacon and egg and fried tomato. Simple deliciousness.

625ml (2 ½ cups) cake flour

20 ml (4tsp) baking powder

5 ml (1 tsp) salt

15ml (1 Tbsp) white sugar

2 extra-large eggs

375ml (1 ½ cups) milk

60 butter, melted and cooled slightly

Cooking oil for frying

–       Sift the flour, baking powder and salt together. Add sugar

–       Whisk eggs, milk and melted butter together. Add to dry ingredients and beat until smooth. Leave to stand for 30 minutes.

–       Heat oil in a large frying pan. Place cutters or rings of about 7sm in diameter in pan. Pour mixture into cutters or rings to about 1.5 cm deep.

Browning

–       Fry slowly over medium heat until batter starts to set, then remove the cutters. Turn over and fry until golden brown or done.

–       Serve immediately

*Fry the muffins SLOWLY on both sides to make sure they are cooked through.

Makes about 15

Recipe from the Royal Baking Cookbook “The Royal Kitchen”

Butter Biscuits

New Recipes0017

Who doesn’t love a little butter biscuit? These are great as you can add pretty much whatever you like to them. There are a few suggestions at the bottom for variations but you can totally get creative. You can add chopped up pecan nuts (my favourite). You can even chop up your favourite nougat and pop that in. Or your favourite chocolate (Chopped up barone is amazing) … go nuts!! (no pun intended) 😉

125g butter, softened

80ml (1/3 cup) icing sugar, sifted

1 extra large egg yolk

3 ml (1/2 tsp) vanilla essence

250ml (1 cup) cake flour

3ml (1/2 tsp) baking powder

1 ml (pinch) salt

–       Preheat your oven to 180 C

–       Cream butter and icing sugar together. Add the egg yolk and essence and beat well.

–       Sift flour, baking powder and salt together

–       Add to butter mixture and mix well to a smooth, firm dough

–       Place dough on a lightly floured surface and shape into a log of about 5cm in diameter. Wrap tightly in plastic wrap and chill in the fridge or freezer until firm.

–       Cut the chilled dougn into about 7mm thick slices and place on greased baking trays.

–       Bake for 12 – 15 minutes, or until golden.

–       Turn out onto wire racks to cool. Store in an air tight container.

*Tip – the dough can be stored for up to two weeks in the fridge.

VARIATIONS

Cherry biscuits: Add 60g red glacé cherries, coarsely chopped

Chocolate chips : Add 60g chopped up chocolate pieces

Coconut biscuits: Add 60ml (1/4 cup) desiccated coconut

Makes about 24

Recipe and photo from the Royal Cook Book